

Blog
Full Lace Front Install with Maximum Wear Tape
Sep
This post is also available in:
 Tiếng Việt
A Full Lace Front Install in 5 Steps Using Walker Signature Tape
This blog post features an example product line you can use when doing a full lace front install with a Maximum Wear tape. But before jumping in, we’d like to briefly outline why our suggested method requires your client to have at least two hair systems.
First off, we recommend having two systems because it ups your chances of keeping clients loyal to your business. While they wear one system, you can store and prepare the other system before the next appointment. Your clients will appreciate you for storing their system, which keeps it safe from accidents were they to keep it at their home. Also, your clients will rave about how smooth your appointments are with the two-system approach. You’ll have them in and out faster and happier than ever, offering them a more comfortable experience in your salon.
Plus, it actually extends the life of both systems. Instead of constantly being worked with and exposed to product, one system can be stored in peace. This gives it time away from the wear and tear of being handled. And with two systems, you can allow them to air dry, avoiding the damage caused by blow dryers altogether.
Now with that said, let’s jump in!
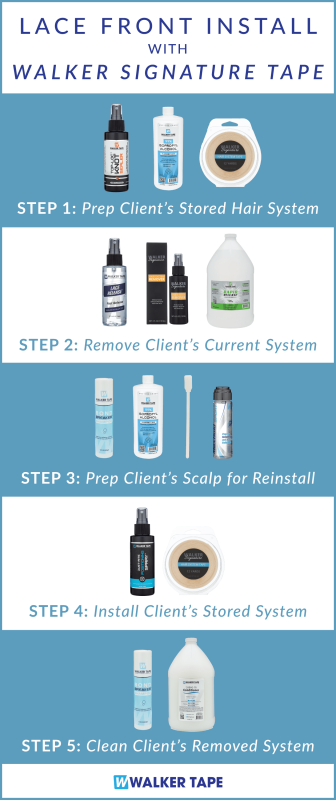
Step 1: Prep Client’s Stored Hair System Before Appointment
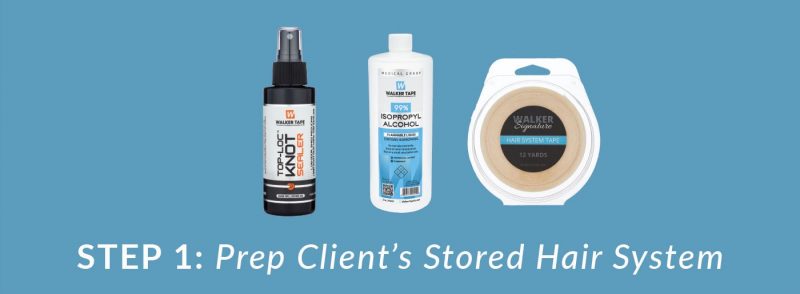
- Top-Loc Knot Sealer: Wearing gloves to keep the system as clean as possible, spray the inside of the lace front wig. Let it dry to ensure a complete seal. Top-Loc Knot Sealer keeps the knots tied to the lace from loosening, which prevents the hair from going flat or shedding.
- 99% Alcohol: Using a sponge brush, apply to the inside of the system, especially where you intend the adhesive to go. Wait for it to completely evaporate before placing tape. 99% Alcohol cleans up dust and oils to ensure the best bond performance.
- Walker Signature Tape: Careful to avoid touching the adhesive, place the tape around the perimeter of the hair system. Make sure to get as close to the edge of the lace as you can for the most natural look. Walker Signature Tape is the thinnest Maximum Wear tape on the market, with less adhesive to clean up and a lifelike appearance, perfect for lace fronts.
Step 2: Remove Client’s Current Hair System
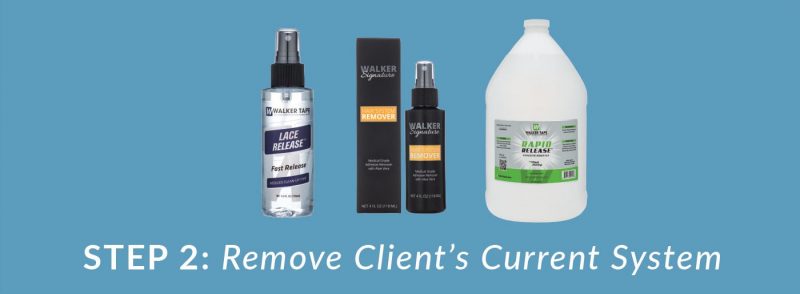
- Lace Release: Saturate the lace front hairline generously, wait 30 seconds, spray hairline again, and gently lift off the scalp. When done correctly, Lace Release leaves most of the residue on the skin, which helps make cleaning the lace front system easier and lessens the risk of damaging the delicate mesh.
- Walker Signature Remover: Apply to remove the tape from the scalp and break down all the remaining adhesive residue off the client’s head. Medical grade and organic, Walker Signature Remover is our fastest sensitive-skin solvent.
- Rapid Release solvent soak: Have a container filled up enough to submerge the removed lace front wig. Place the hair system in upside down so the tape side faces up. That way, the walls of the container don’t block the remover from breaking down the adhesive. Rapid Release, while not skin safe, is the fastest-acting remover we’ve ever seen.
Step 3: Prep Client’s Scalp for Reinstall
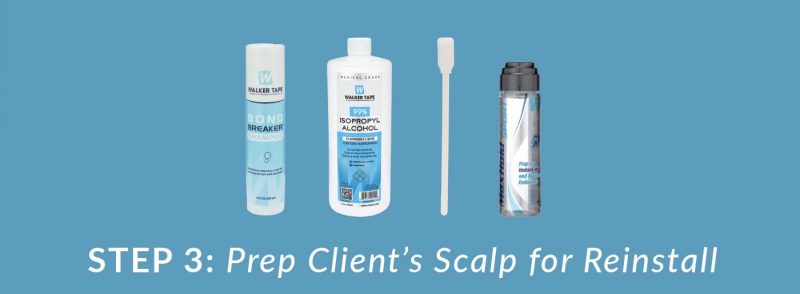
- Bond Breaker Shampoo: Rub in a small amount to your client’s hair and scalp, and rinse out like you would with an everyday shampoo, and repeat if needed. Bond Breaker Shampoo is the most important step in preparing your client for an install. It washes out residual stickiness, scrubs the skin, and cleans the hair all at once.
- 99% Alcohol: Using a sponge brush for easier use and more even coats, apply to your client’s scalp. Wait for it to completely evaporate before placing Max Hold Sport. Like stated above, 99% Alcohol optimizes hold times by cleaning the skin of oils and dead skin cells.
- Max Hold Sport: Apply one to two coats over the scalp. Make sure to let dry before applying tape. Remind your client that they can shower, swim, or work out right away without waiting and without affecting the bond’s performance, thanks to Max Hold Sport. In fact, it boosts the tape’s bond strength for even better hold times.
Step 4: Install Client’s Stored System

- Just-Rite Positioning Spray: Spray the tape on the lace front system. The amount you spray determines how much time you have to adjust the unit. Just-Rite Positioning Spray allows you to make adjustments before the adhesive takes effect, giving you leeway in getting the lace front exactly where it needs to go.
- Walker Signature Tape: Gently set the hair system on the scalp to place it perfectly, and wait for the Just-Rite Positioning Spray to evaporate. Press the hair system firmly onto the head taking great care not to move it in the process.
Step 5: Clean Client’s Removed System After Appointment

- Soap and water: Remove the lace front wig from the solvent soak, and wash out the adhesive and oily residue with soap and water. Since it will be weeks until you need to prepare the system again for use, let it air dry. And then store it away safely until your client’s next appointment.
Save money on every single one of these quality products by becoming a wholesale customer today! It’s your access to the best prices on everything Walker Tape has to offer. Guaranteed!